Introduction
In this guide, we will walk you through the process of hosting your domain in Azure DNS. This involves several key steps and screenshots
- Create a DNS Zone in Azure
- Update nameservers on your domain registrar Namecheap
Prerequisites
Before we dive in, make sure you have:
- A domain name owned by you
- An Azure Account and subscription (Free Trial)
Step by Step
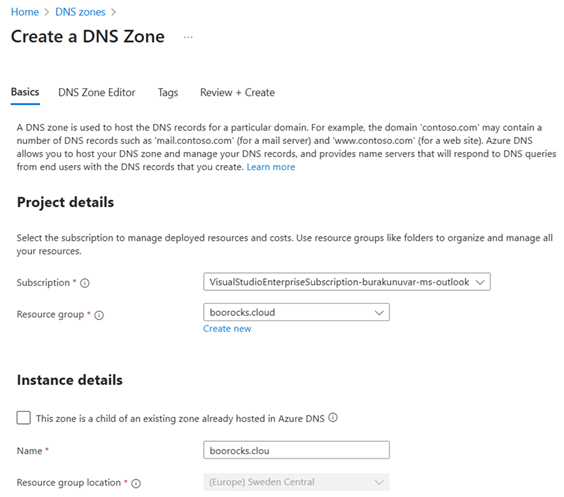
In the Azure Portal, navigate to "DNS Zones" and click on "Create DNS Zone". Fill in the necessary details such as the subscription, resource group, and the name of your DNS zone.
Step 1: Create the DNS Zone
In the Azure Portal, navigate to "DNS Zones" and click on "Create DNS Zone". Fill in the necessary details such as the subscription, resource group, and the name of your DNS zone.
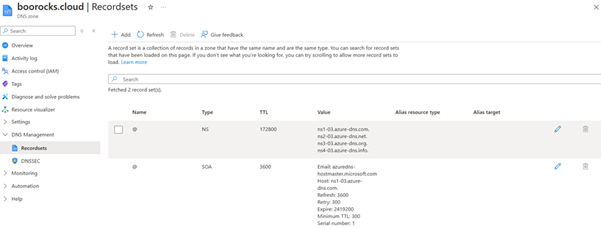
Step 2: Go to Resources, DNS Management, Recordsets in order to get the list of NameServers
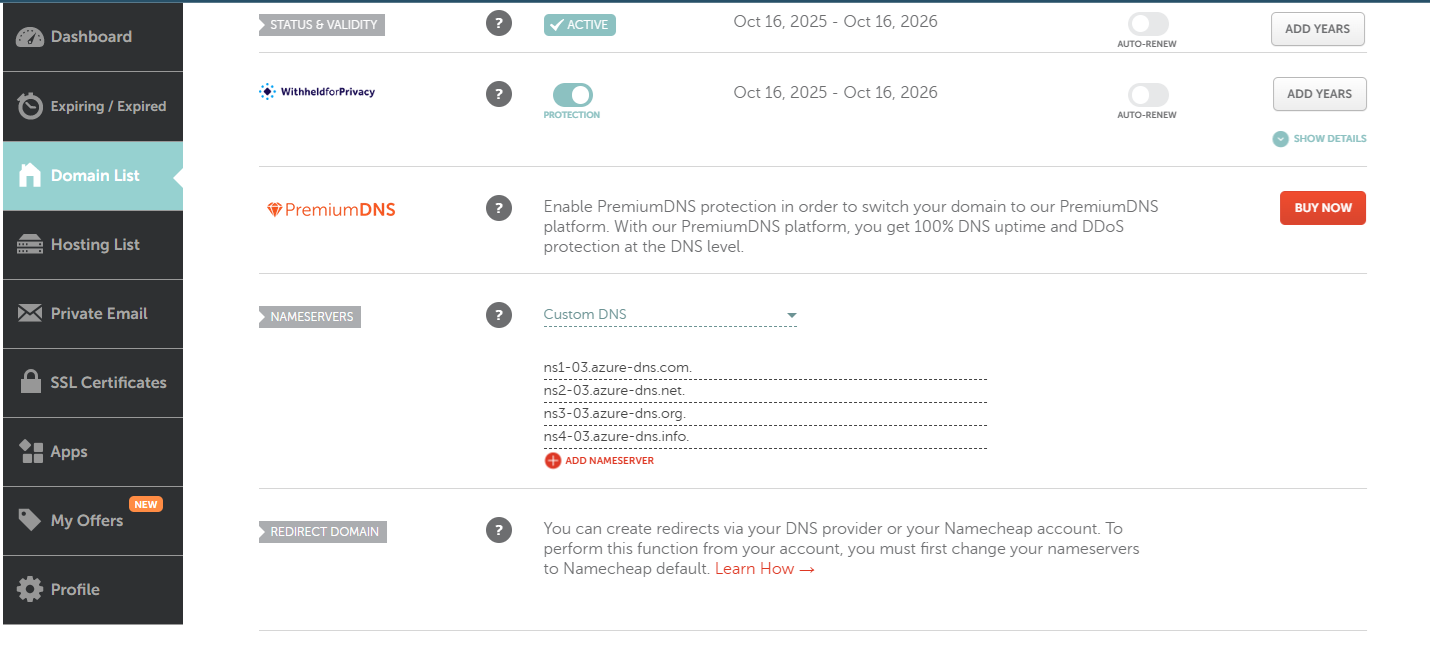
Step 3: Use these name servers for Custom DNS settings on your domain registrar (Namecheap in this example)
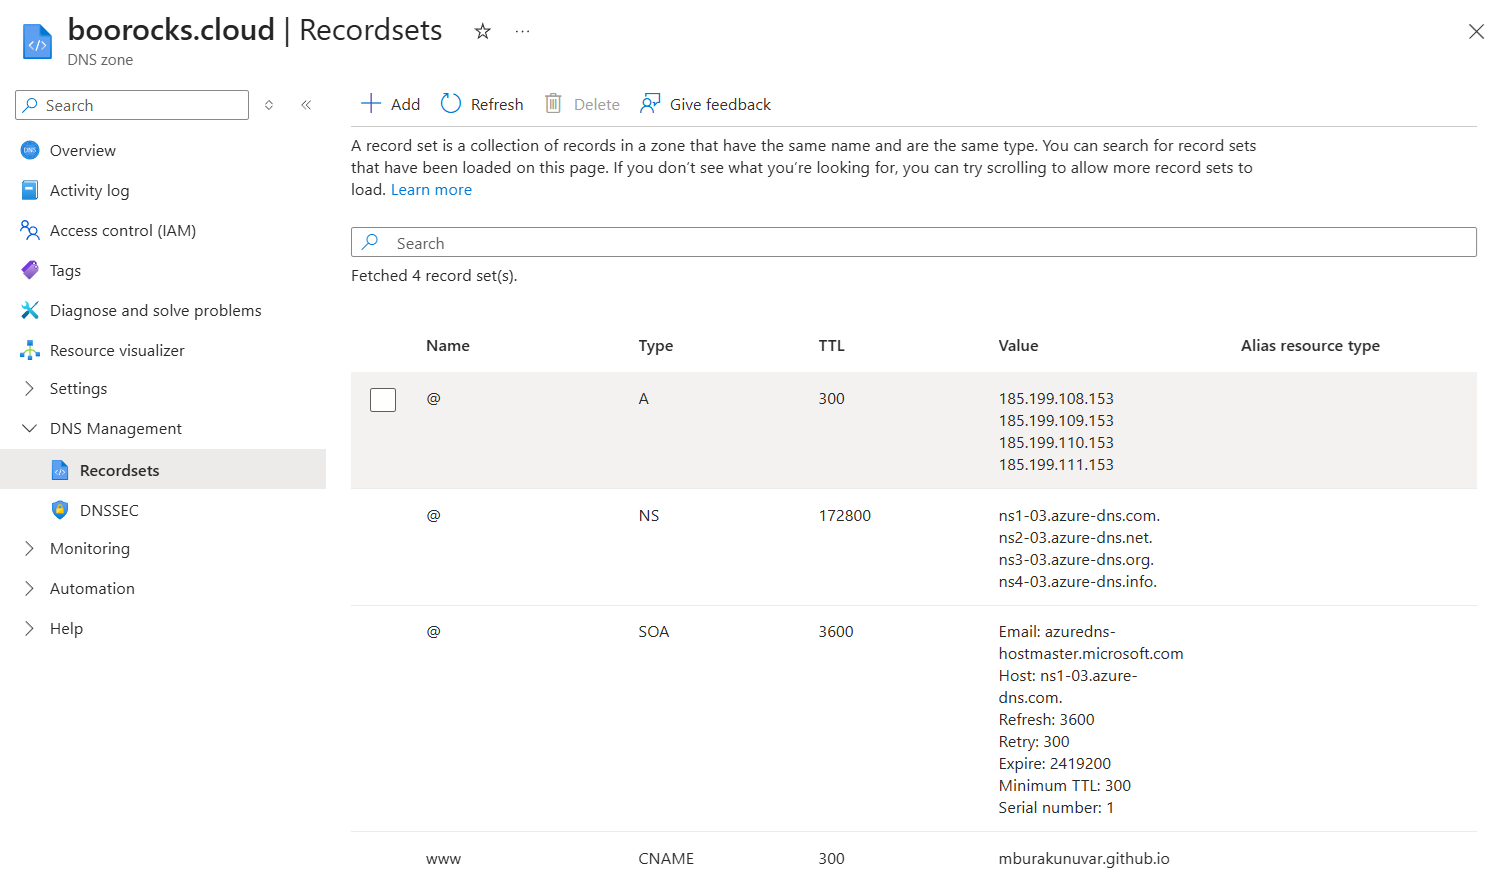
Step 4: As optional use the GitHub Pages name servers in the recordsets of your DNS Zone
References & Useful Links
| Source | Link |
|---|---|
| Microsoft Azure DNS Documentation | Delegate a domain to Azure DNS |